 how-to
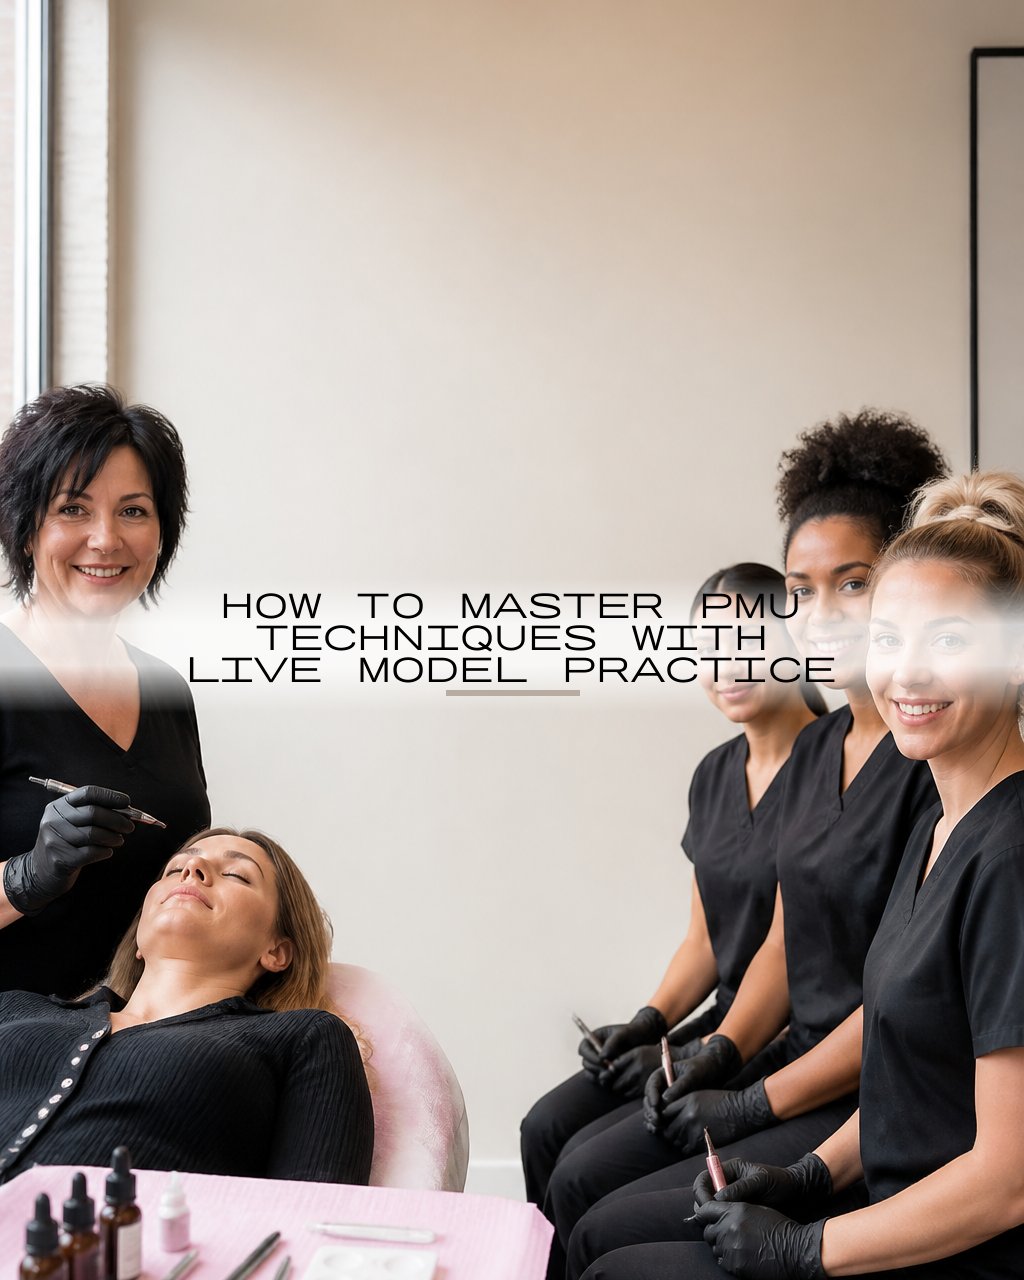
How to Master PMU Techniques With Live Model Practice
Last Updated: October 22, 2026
Quick Summary
Master PMU techniques with live model practice by progressing from flat practice material to textured skin, then to supervised live-model work under an instructor's eye. Screen each model for contraindications, secure informed consent, and follow a sanitation checklist before every session. Move to paying clients only when your practice log shows three consistent sessions with clean lines and even pigment.
- Practice skin builds repeatability and machine control; live models teach adaptation, pressure on real tissue, and judgment.
- Run short drills three to four times a week, including 20 straight lines, 20 curves, and an even dot fill.
- Decline any model with an active skin condition in the treatment area, a bleeding disorder, or keloid scarring history.
- Poor pigment retention usually traces to too much pressure, too little stretch, too fast a pace, or too many passes.
- Get specific supervisor feedback after every live-model session and track progress with clear markers, not feelings.
Table of Contents
- Why Live Model Practice Decides Whether Your PMU Techniques Hold Up
- Permanent Makeup Training for Beginners: The Foundation Before Skin
- PMU Practice Skin vs Live Model: What Each One Actually Teaches
- How to Practice PMU Before Working on Clients
- Live Model Preparation for Permanent Makeup: Consent, Safety, and Setup
- Technique Troubleshooting by Skin Type and Service
- Structured Feedback and Measurable Progress Toward Client Work
- Conclusion
- Frequently Asked Questions
Why Live Model Practice Decides Whether Your PMU Techniques Hold Up
You can trace a perfect brow on latex a hundred times.
Live model practice is the bridge. It's the only setting where your PMU techniques face real skin, real movement, and real consequences.
Here's the core tension most training programs gloss over. You need both, in the right order, before you charge anyone for permanent makeup.
This guide breaks down that order step by step.
Permanent Makeup Training for Beginners: The Foundation Before Skin
Permanent makeup training for beginners should start with machine control, not pigment. If you can't hold a steady line on a flat surface, real skin will expose every wobble.
The first weeks are about repetition. Short, focused drills beat long, sloppy sessions. A common mistake is rushing to brows before the hand is ready.
Start with these fundamentals:
- Machine speed and needle depth: Learn what each setting feels like before it touches skin.
- Hand positioning: Anchor your working hand and support your wrist.
- Pressure control: Light, consistent passes, never a heavy drag.
Most beginners underestimate how much pressure control matters. Too much pressure causes trauma and blurry healed results. Too little leaves patchy pigment.
Machine Control, Hand Positioning, and Pressure Drills
Machine control is the skill that separates clean work from scarred work. Build it with short daily drills, not marathon sessions.
Try this routine three to four times a week:
- Draw 20 straight lines across a practice sheet.
- Draw 20 smooth curves of the same length.
- Fill a small square with even dots, no overlap.
- Repeat with your non-dominant hand for balance.
Track your pressure by feel, not by guessing. Consistent, guided motion comes from a relaxed grip and a supported wrist.
PMU Practice Skin vs Live Model: What Each One Actually Teaches
PMU practice skin vs live model is not a competition.
Practice skin teaches repeatability. It's flat, predictable, and forgiving. You learn stroke patterns, machine control, and pigment flow without any risk.
Live models teach adaptation. Skin stretches, moves, bleeds, and pushes back.
| Training Method | What It Teaches | What It Can't Teach |
|---|---|---|
| Practice skin | Repeatable strokes, machine control, pigment flow | Skin movement, bleeding, client comfort |
| Live model | Adaptation, pressure on real tissue, judgment | Safe repetition without risk |
The takeaway: master the basics on practice material, then move to supervised live-model practice. Skipping the first stage creates bad habits.
How to Practice PMU Before Working on Clients
Learning how to practice PMU before working on clients comes down to one word: progression.
Here's a repeatable progression we recommend to new artists.
Stage 1: Flat practice material. Two to three weeks of daily drills. Focus on lines, curves, and even dots.
Stage 2: Textured practice skin. Add a surface that mimics skin texture.
Stage 3: Supervised live-model practice. Work on a real person under an instructor's eye.
Stage 4: Service-specific drills. Move to powder brows, lip blushing, or microblading patterns, one service at a time.
Stage 5: Full supervised procedures. Complete a full procedure with feedback after each step.
A Repeatable Practice Progression With a Practice Log
A practice log turns vague effort into measurable progress. Log every session, even the short ones.
Track these fields for each practice run:
- Date and duration
- Surface used (flat, textured, live model)
- Drill performed
Review the log weekly. Patterns show up fast. If pressure control keeps slipping, you know exactly what to drill next.
Live Model Preparation for Permanent Makeup: Consent, Safety, and Setup
Live model preparation for permanent makeup starts with consent and safety, before a single needle is opened. This is the step competitors skip, and it's the one that protects both you and your model.
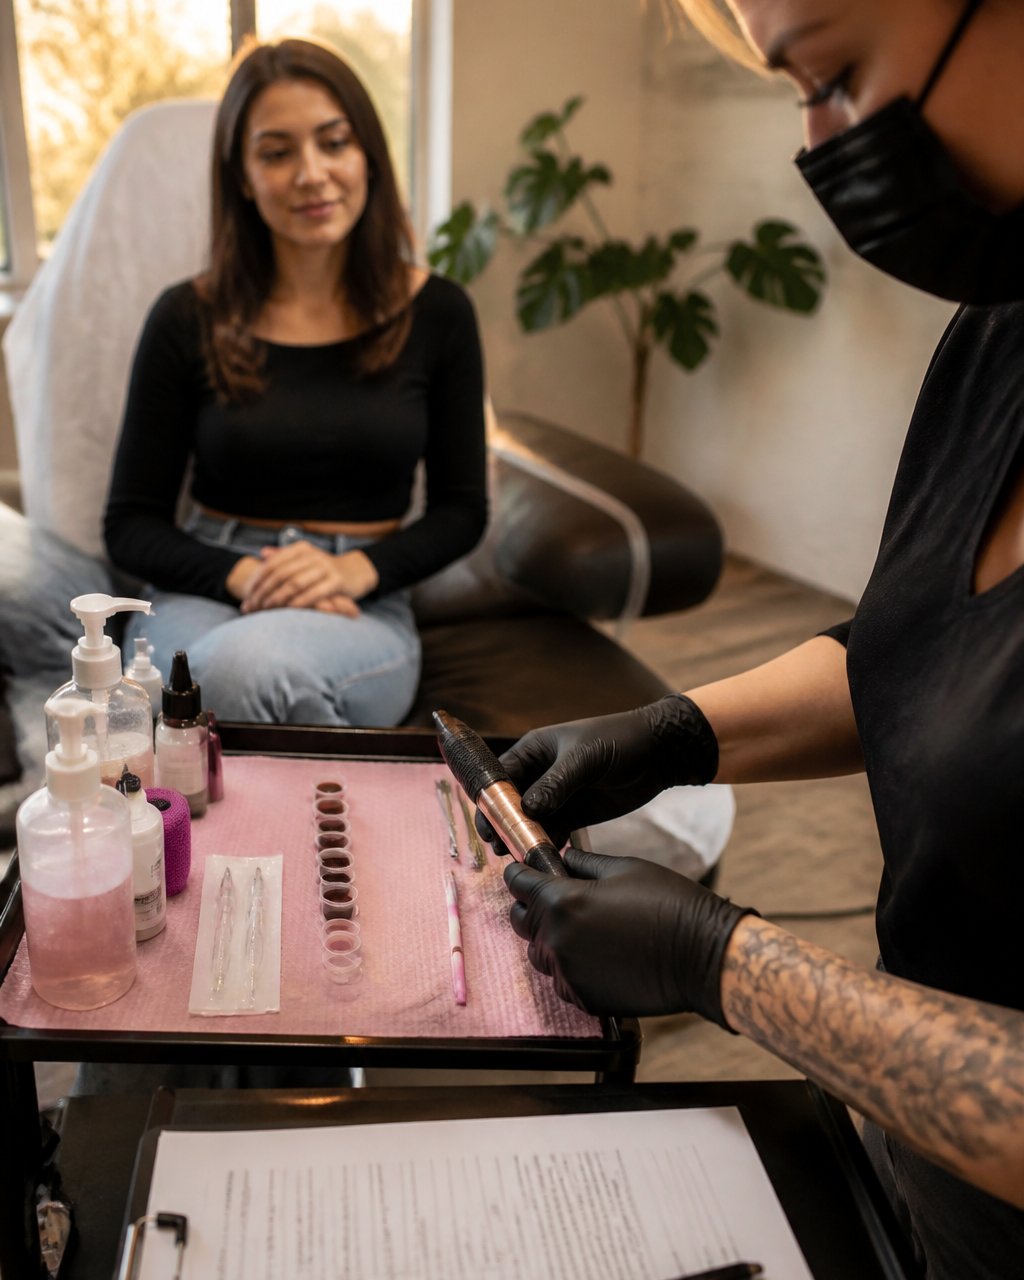
Screen the Model Before You Book the Model
A live model is not a volunteer who happens to be free on Saturday. Screen for suitability the same way you would a paying client, because the risks are identical.
Ask these questions on the phone or intake form before the session:
- Are you pregnant or breastfeeding?
- Do you take blood thinners, Accutane, or medication that affects healing?
- Do you have a history of keloids, eczema, psoriasis, or active acne in the treatment area?
A "yes" is not automatically a no, but it is a conversation. Some conditions mean you postpone; others mean you decline. A beginner should decline any model with an active skin condition in the treatment area, a bleeding disorder, or a history of keloid scarring.
Informed Consent That Actually Informs
A signature is not consent. Consent is a conversation the model can repeat back to you.
Walk through these points out loud, then have the model initial each one:
- This is a training procedure performed under supervision.
- Results are not guaranteed and may be uneven.
- The procedure is permanent and may require touch-ups.
Document the date, the model's name, the procedure, the pigment lot number, and the supervising instructor. Keep the record for at least as long as your state requires, many body art programs require retention of client records for a set period, so confirm the rule where you practice.
Sanitation and Setup Checklist
Run this checklist before every live-model session:
- Written informed consent signed, dated, and initialed
- Health questions reviewed and documented
- Treatment area cleaned and prepped
Sanitation and licensing requirements vary by state. In Washington, permanent makeup artists must follow the state health department's body art rules, so confirm your credentials before you practice on anyone. Check the Washington State Department of Health body art program for current licensing details. If you practice elsewhere, look up your state health department's body art or tattoo establishment rules, most regulate PMU under the same framework as tattooing.
Supervision Limits: When a Beginner Should Not Proceed
Supervision is not a formality. It is the condition that makes beginner live-model work defensible.
Do not perform a procedure on a live model if any of these are true:
- No qualified instructor is physically present.
- The model has an unresolved contraindication.
- You have not completed the prerequisite practice-skin benchmarks.
A beginner should never perform a full procedure unsupervised, even on a friend who "doesn't mind." The moment something goes wrong, excessive bleeding, an allergic reaction, a poor outcome, you need a supervisor who can take over and a consent record that shows the model understood the risks.
Consent, sanitation, and setup are not paperwork. They're the foundation of every safe live-model session, and they build the professional habits you'll use for your whole career.
Technique Troubleshooting by Skin Type and Service
Skin type changes how your PMU techniques behave, and ignoring that is the fastest route to patchy or blurred results. The same pressure and pigment that work on one client can fail on the next. The fix is to adjust four variables, pressure, stretch, speed, and number of passes, to the skin in front of you.
Why Pigment Fails to Retain
Poor retention almost always traces to one of four causes:
- Too much pressure: Trauma pushes pigment out during healing and can cause blurring or scarring.
- Too little stretch: Loose skin deflects the needle, so pigment sits too shallow and flakes away.
- Too fast: The needle skips, leaving gaps that look patchy at the two-week mark.
Before you blame the pigment, check these four. Most "bad pigment" problems are actually pressure or stretch problems.
Adapting to Skin Type
- Oily skin: Pigment can push out and fade fast. Use lighter pressure, slightly more stretch, and expect more frequent touch-ups. Avoid over-packing the area, oily skin reacts to trauma with more oil production.
- Dry or mature skin: Skin is thinner and less elastic. Stretch gently, slow down, and avoid overworking the area. Mature skin bruises easily, so keep passes light.
- Sensitive skin: Redness and swelling show up quickly. Work in smaller sections, check comfort often, and keep passes minimal. Stop if the area becomes reactive.
Service-Specific Technique
PMU is not one skill. Each service stresses different parts of your technique.
- Powder brows: Soft, even shading. Keep pressure consistent across the whole brow so the gradient heals evenly. Uneven pressure shows up as patchy density.
- Microblading: Crisp, consistent strokes. Stroke depth and angle matter more than speed. Inconsistent angle causes strokes to blur together at healing.
- Lip blushing: Careful color selection and a light hand near the lip line. The lip line is unforgiving, a heavy pass there heals as a hard edge.
A Troubleshooting Loop
When results look uneven, work through this sequence:
- Check stretch, is the skin taut under your non-dominant hand?
- Check pressure, are you dragging or gliding?
- Check speed, are you moving faster than the needle can deposit?
- Check passes, are you overworking one spot?
- Only then question the pigment.
Photograph the area immediately after the procedure and again at the two-week heal. Comparing the two is the fastest way to learn how your pressure and passes translate into healed results on different skin types.
Structured Feedback and Measurable Progress Toward Client Work
Structured feedback is what turns practice into progress. Without it, you repeat mistakes and call it experience.
Get feedback from a supervisor or master instructor after every live-model session.
Measure progress with clear markers, not feelings:
- Consistent line quality across three sessions
- Even pigment retention on a healed model
- Clean, safe setup every time
When those markers hold, you're ready for client work. Until then, keep drilling.
At Tonni Petty PMU Artistry, our one-on-one training with a Master Instructor is built around this exact feedback loop.
Conclusion
Mastering PMU techniques is not about talent. It's about a deliberate progression from practice skin to supervised live models, with safety and feedback at every step.
If you want to train with an artist who has spent over 22 years refining this craft, Tonni Petty PMU Artistry offers one-on-one instruction, master-level certification, and supervised live-model practice.
Get started with Tonni Petty PMU Artistry and build the skills and confidence to work professionally.
Frequently Asked Questions
When should a PMU beginner start practicing on live models?
Most beginners should wait until they can hold consistent machine control and pressure on practice skin and have completed supervised drills on stretching and hand positioning. A common benchmark is a set number of clean, even passes in a practice log before touching skin. Start with a small, low-risk area under direct supervision, then expand as feedback confirms your PMU techniques are repeatable. Rushing this step is the fastest way to build habits that are hard to undo.
How can you prepare a live model for a PMU practice session?
Preparation starts with a clear conversation: explain that this is a training session, review risks, and get written informed consent. Confirm the model has no contraindications, avoid alcohol and blood thinners beforehand, and photograph the area before and after. On the day, cleanse and mark the area, set up sanitation, and keep the session short. Good live model preparation for permanent makeup protects both people and makes the practice worth repeating.
What should you practice before working on a live model?
Focus on the fundamentals that transfer directly to skin: machine control, hand positioning, pressure control, and skin stretching. Practice brow mapping and shape design on paper and practice skin, run service-specific drills for powder brows and lip blushing, and log each session. PMU practice skin cannot teach you how real skin moves, but it can build the motion and consistency you need so your first live model session is about adapting, not learning basics.
How do you evaluate your results after a PMU model session?
Photograph the area in consistent lighting immediately after and again at the follow-up, then compare against your plan for shape, saturation, and symmetry. Review your practice log notes on pressure, passes, and skin response. Ask your instructor or mentor for structured feedback on specific techniques rather than general praise. Tracking these notes over several sessions shows measurable progress and tells you when your PMU techniques are ready for paying client work.